Meshyai

First model

A meshy tutorial for beginners who want a usable first model

Your first Meshy result may have the right subject but the wrong shape, missing parts, or a texture that hides the form. This tutorial starts with one simple object, then shows what to change first instead of rewriting everything at once.

Start with a simple shape

elimination order table

Treat these steps as a troubleshooting order: stop at the first failed check, change one thing, and inspect the next result.

  1. 1

    Confirm the subject

    If the result is not clearly the object you requested, shorten the prompt to one noun and a few defining features. Do not add material or lighting instructions yet.

  2. 2

    Check the silhouette

    Rotate the Meshy preview. If the overall shape is wrong, specify proportions and major forms before asking for small decorative details.

  3. 3

    Find missing parts

    List only essential parts, such as a lid and latch. A simpler prompt makes it easier to tell whether each part appeared.

  4. 4

    Inspect the surface

    Only after the shape works, check whether color or texture supports it. A convincing render can conceal a weak mesh.

each fix's steps

Use the failed check to choose a specific edit. Keep the previous result nearby so you can tell whether the change helped.

1

Fix a confused subject

Begin with a single object rather than a scene. For a treasure chest, remove the room, scattered coins, dramatic lighting, and character standing beside it. Keep the object name, its broad style, and one or two identifying features. Generate again and ask whether an unfamiliar viewer would recognize it without reading the prompt. If not, simplify further rather than stacking on adjectives.
2

Fix the shape before the finish

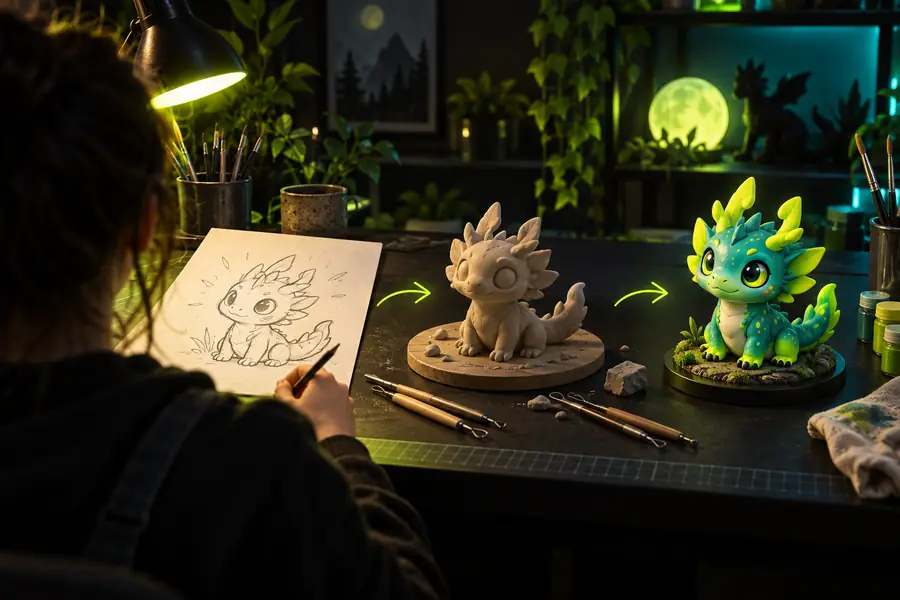
Turn the Meshy result to view its front, side, top, and underside. Describe the largest incorrect form in ordinary language: a wider base, shorter legs, or a flatter lid. Regenerate with that constraint and compare the outline, not just the most flattering camera angle. If a model still loses its identity when rotated, a detailed texture will not solve the underlying shape.

3

Fix missing parts and rough surfaces

When the silhouette works, name the missing structural part explicitly and keep the list short. For example, request a closed lid with a single centered latch instead of many tiny hinges and ornaments. Once those parts appear, assess color and material separately. If the intended use requires editable geometry, inspect the exported file in a 3D application rather than relying on the browser preview.

What to have ready before trying a fix

A few consistent inputs make changes easier to evaluate.

Required Optional
  • One object with a recognizable silhouette — A chest, mug, or simple toy is easier to assess than a full scene.

  • A short prompt naming the subject and its essential parts — Keep a copy so each revision has a clear baseline.

  • A plan to inspect the result from several angles — The front view alone can hide missing depth or distorted parts.

  • A destination for the model, such as a scene or print testoptional — Your destination determines which export checks matter.

  • A reference image of the same single objectoptional — Useful when proportions are difficult to describe in words.

how to avoid recurrence

Use this first-week practice timeline to build a repeatable habit, not as a claim about product release dates.

  1. Save a baseline

    Write down the original Meshy prompt and keep the first result. Record the one visible defect you want to fix before making another attempt.

  2. Practice shape checks

    Make a second simple object and rotate it before looking closely at colors. Describe what its side and rear views reveal.

  3. Separate structure from styling

    Revise only a structural instruction. Once the shape is recognizable, try a material or color change as a separate experiment.

  4. Test the destination

    Open an exported model in the software you actually intend to use. Note any issues the Meshy preview did not make obvious.

What a first-model workflow cannot guarantee

1

Perfect topology

A readable Meshy shape may still have geometry that is awkward to edit, animate, or subdivide.

What to do instead

Inspect the exported mesh and plan on cleanup or retopology when your project needs it.

2

Print-ready construction

A rendered preview does not establish wall thickness, watertightness, or the absence of fragile parts.

What to do instead

Check the file in a slicer and repair it before committing to a print.

3

A guaranteed match to a reference

A text description leaves proportions and hidden surfaces open to interpretation.

What to do instead

Use a clear single-subject reference image when exact visual proportions matter.

4

A finished production asset

The first acceptable result may still need scale, material, or performance checks in its destination application.

What to do instead

Import it into the target workflow and assess it against that project's requirements.

Compare the idea with a more developed result

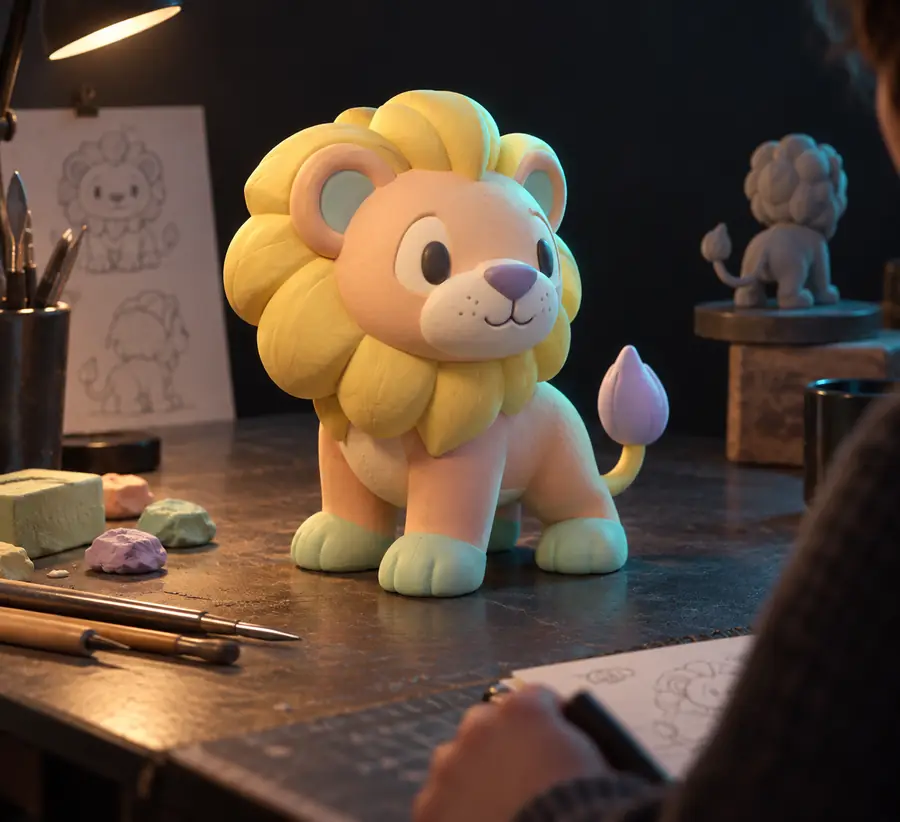
Pastel toy lion shown in an early model presentation More developed plush lion 3D example

Early view

Illustrative views of a toy-lion subject, not a documented before-and-after from one Meshy session. Compare the ears, muzzle, body outline, and surface treatment rather than assuming the slider proves a specific edit.

Developed example

Try one controlled revision

This meshy tutorial for beginners works best when you start with one object and change one instruction at a time. Keep your first Meshy result, inspect the next one from several angles, and continue only when the shape improves.

Make the next result easier to judge

  • Start with one recognizable subject
  • Check shape before surface
  • Verify exports in their destination
Generate a model

tutorial FAQ

Start with a short description of one object and its defining features, then generate a model. Rotate the preview and decide whether the subject and silhouette are recognizable before adding details. Revise the first failed feature rather than changing the entire prompt.

Choose an object with a simple outline, such as a chest, mug, or stylized toy. Its major parts are easy to name and inspect from several angles. A complex scene makes it harder to identify which instruction caused a weak result.

Find the earliest problem: wrong subject, weak silhouette, missing part, or unsuitable surface. Change one related instruction and compare the new result with the old one. If the overall form is wrong, postpone texture changes.

A preview tells you whether the model looks promising, not whether it meets every technical requirement. Export it and check it in the application where it will be used. Printing, animation, and game use can each require different geometry and material fixes.

Start creating ↗
Start creating ↗